In additional to monitoring storage and host utilization of your VSAN Cluster, the health of the individual disks contributing to your VSAN Cluster is probably one of, if not the most important thing to keep an eye on. In the vSphere Web Client, this information can be accessed by navigating over to the VSAN Disk Management tab as seen in the screenshot below.

Even though this information is available from the UI, it would also be useful to be able to extract this information programmatically using the vSphere API either for external monitoring or informational purposes. I recently had did some work on this, so I figure I might as well share an example script that demonstrates this functionality. To do so, I of course created a sample vSphere SDK for Perl script called vsanDiskHealth.pl
Disclaimer: These scripts are provided for informational and educational purposes only. It should be thoroughly tested before attempting to use in a production environment.
The script leverages the QueryPhysicalVsanDisks() API which accepts a list of properties to collect on an individual VSAN Disk. You can also leave the method blank, in which all properties will be returned. For our use case, we are collecting a sub-set of the properties which includes: owner, uuid, isSsd, capacity, capacityUsed, disk_health.
To check the current health of your VSAN Disks, you just need to specify the name of a VSAN enabled Cluster:
./vsanDiskHealth.pl --server .vcenter55-1 --username root --cluster VSAN-Cluster

- Exploring VSAN APIs Part 1 – Enable VSAN Cluster
- Exploring VSAN APIs Part 2 – Query available SSDs
- Exploring VSAN APIs Part 3 – Enable VSAN Traffic Type
- Exploring VSAN APIs Part 4 – VSAN Disk Mappings
- Exploring VSAN APIs Part 5 – VSAN Host Status
- Exploring VSAN APIs Part 6 – Modifying Virtual Machine VM Storage Policy
- Exploring VSAN APIs Part 7 – VSAN Datastore Folder Management
- Exploring VSAN APIs Part 8 – Maintenance Mode
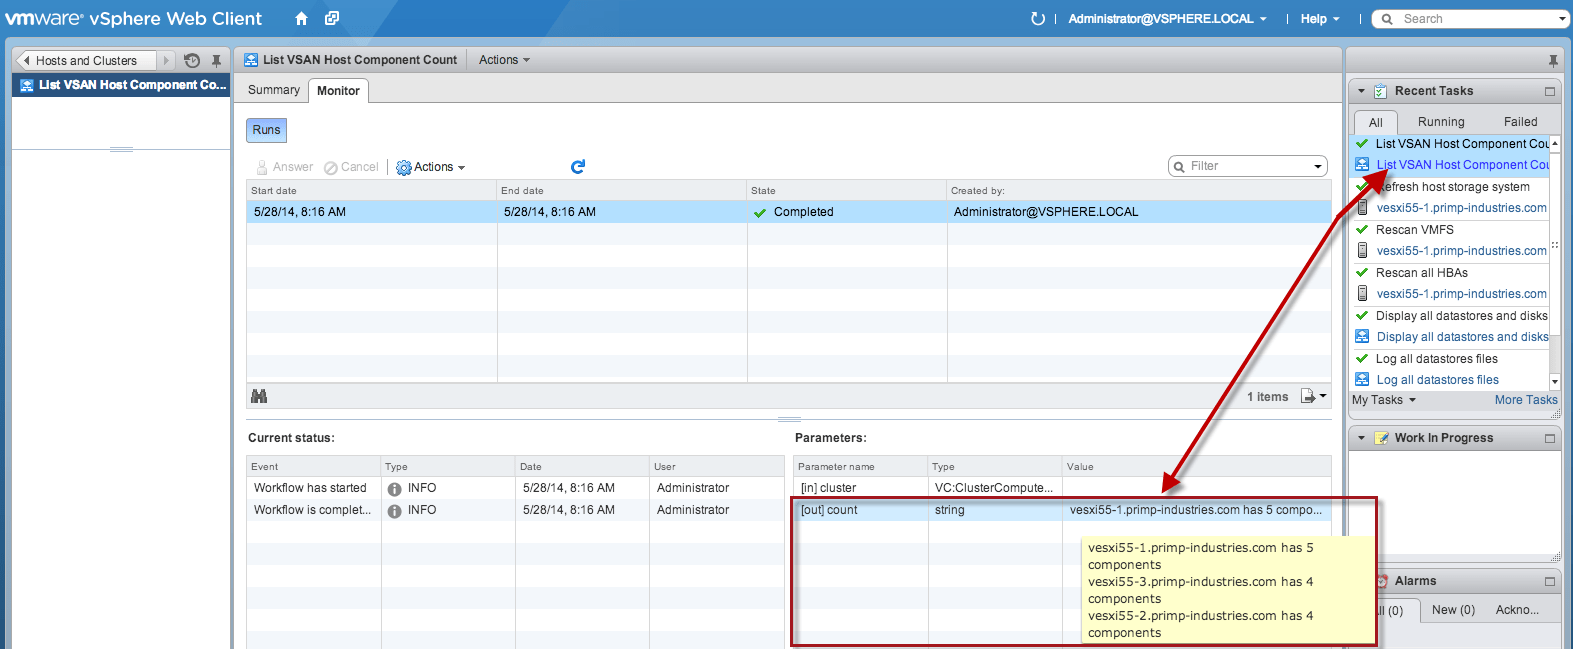
- Exploring VSAN APIs Part 9 – VSAN Component count
- Exploring VSAN APIs Part 10 – VSAN Disk Health