I got a question from my buddy Paudie O'Riordan this morning where he was noticing a strange issue while trying to upgrade his ESXi hosts from 6.0 to 6.5 (all on the VMware HCL). Like many of our customers, he runs ESXi on USB device and when he attempted to upgrade using ESXi Scripted Install (Go Automation!), he was surprised to find that his USB device was not being detected.
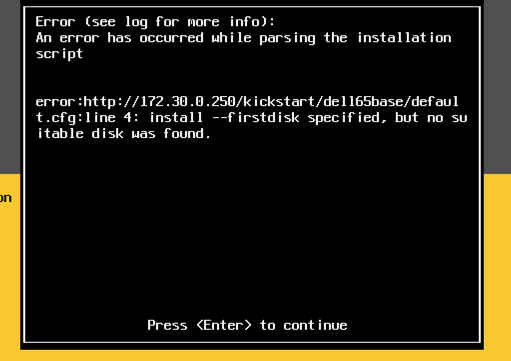
Interestingly, I had literally just finished answering a similar question on our internal Socialcast forum and I had wondered if Paudie was also seeing the same problem. The issue looks to be related to the new USB Native Driver (vmkusb) that was introduced in ESXi 6.5 where is it is unable to claim the specific USB device.
Although you can disable the USB Native Driver and fall back to the legacy driver as mentioned in this VMware KB 2147650, but because this is happening during the installation/upgrade process, it can get a bit tricky.