With the latest Hybrid Cloud Extension (HCX) R121 release, the new HCX Multi-Site Service Mesh configuration option is now the default and preferred method for setting up HCX. In fact, the legacy "HCX Components" method, which is focused on deploying individual HCX Appliances has been deprecated in the latest release and will be removed in the future, in favor of the new simplified deployment option.

As many of you know, I have been doing quite a bit of HCX Automation with VMware Cloud on AWS (VMC) and with the recent PowerCLI 11.3 release which now includes new HCX Multi-Site Service Mesh (MSSM) cmdlets, I figured this would be a good time to update my automation to take advantage of the new HCX MSSM feature.
While trying out the new MSSM cmdlets, I ran into a couple of issues which took me awhile to figure out. The issue stems from the fact that you can not simply create some of the MSSM objects such as a Network or Compute Profile and then save the output to a variable for use with other CSSM cmdlets, which I found to be quite strange as that is one of the biggest benefit of PowerShell and being able to pipe objects between cmdlets. You have to perform a "GET" operation on the object that you had just created because the types returned are different between the New and Get cmdlets. In any case, here is a sample end-to-end workflow using the new MSSM cmdlets as I figured others may run into this problem scratching their head and the PowerCLI documentation was not very clear about this behavior, at least it was not apparent to me.
Step 1 - Update the following variables based on your own environment
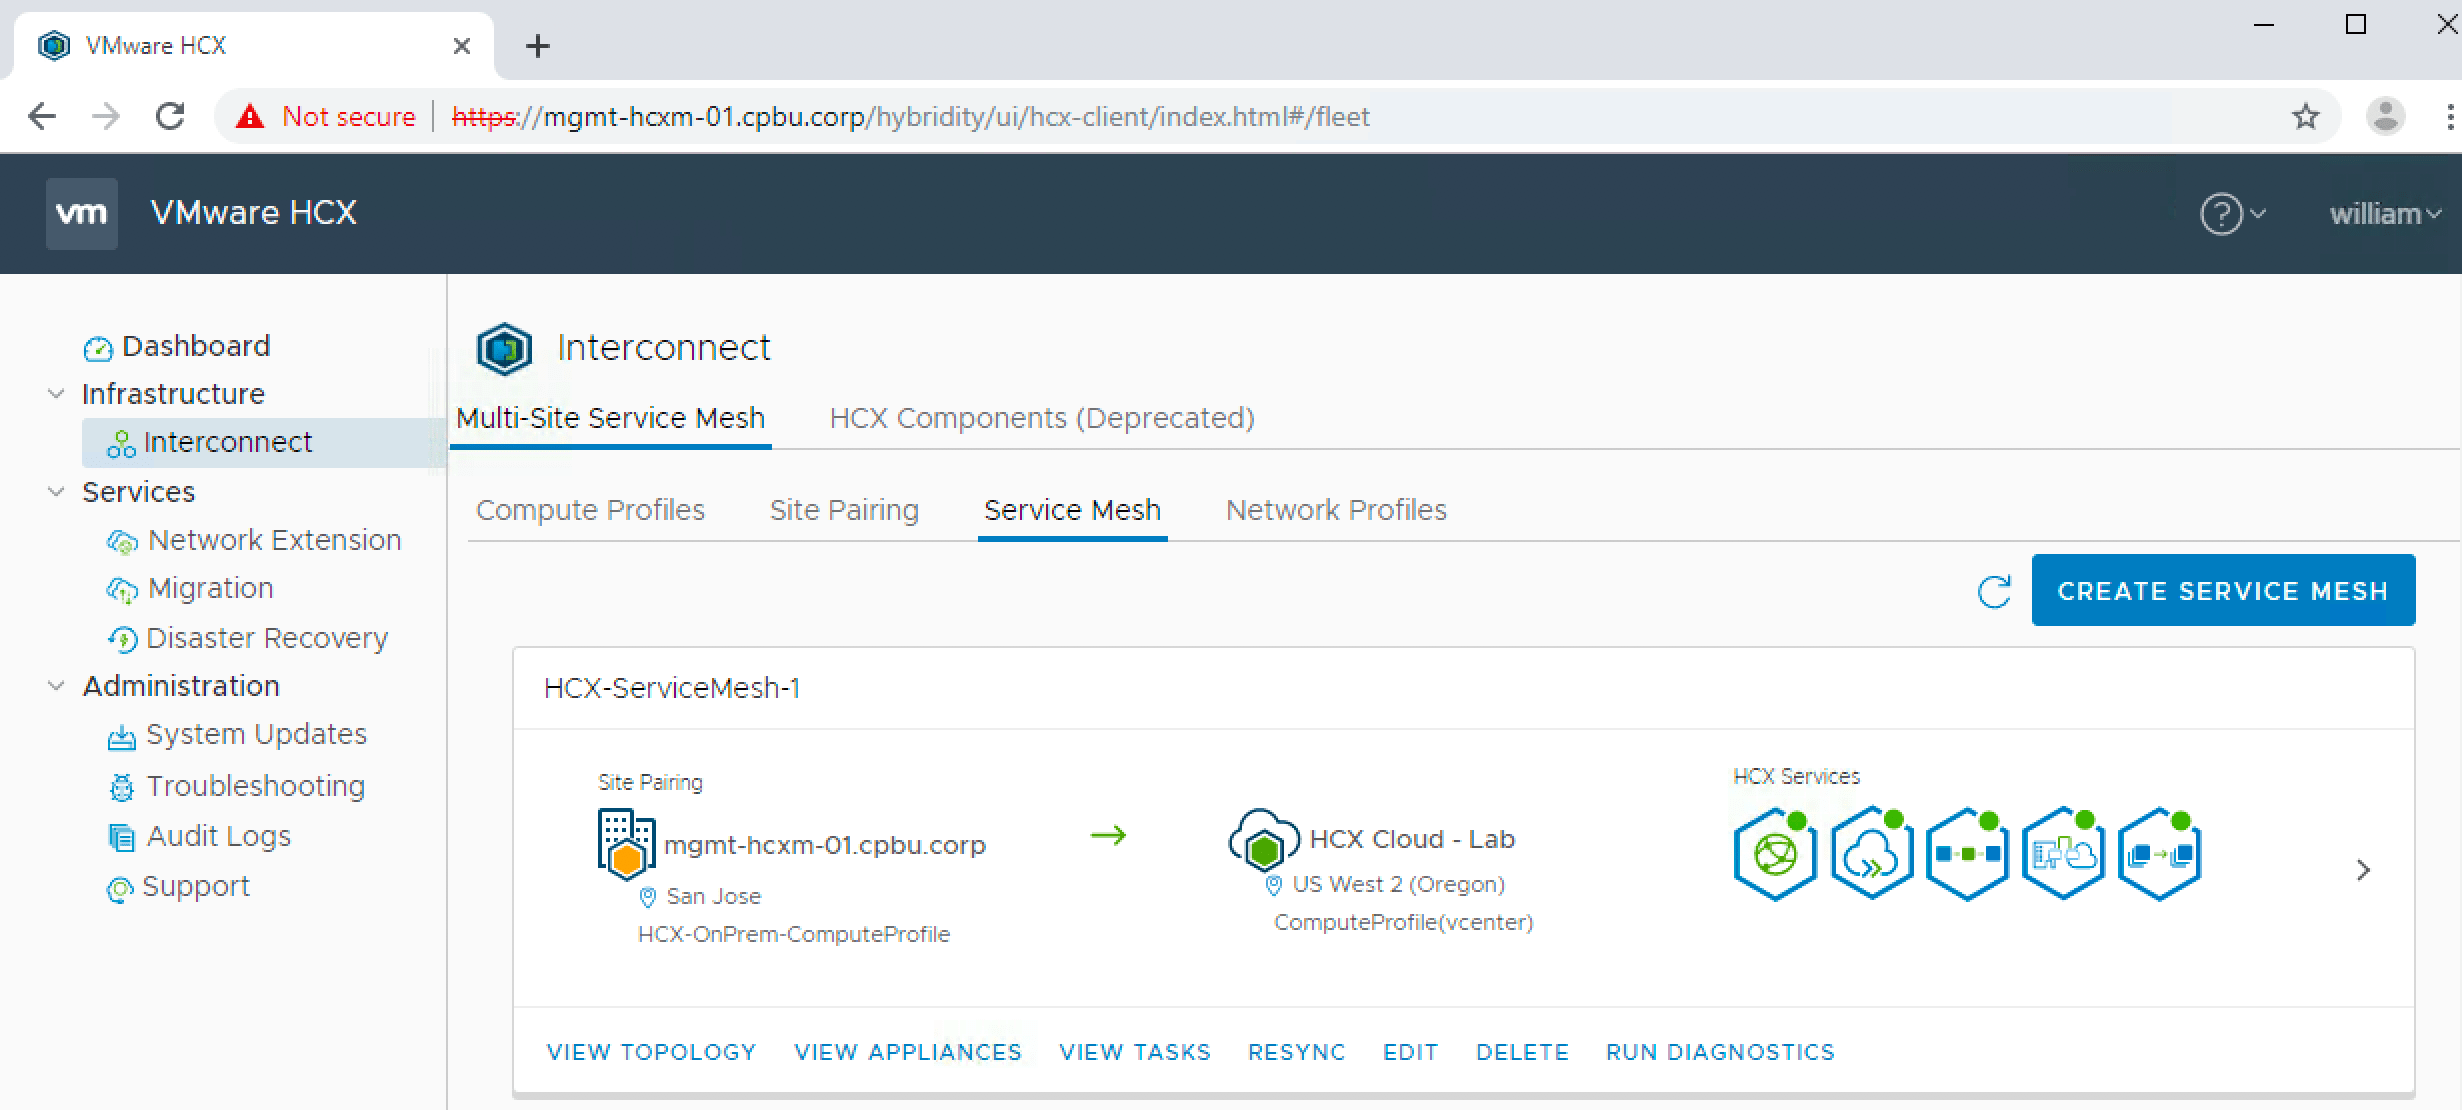
$OnPremHCXManager = "mgmt-hcxm-01.cpbu.corp"
$OnPremHCXUsername = "*protected email*"
$OnPremHCXPassword = "VMware1!"

$HCXCloudURL = "hcx.sddc-a-b-c-d.vmwarevmc.com"
$HCXCloudUsername = "*protected email*"
$HCXCloudPassword = "FILL-ME-IN"

$hcxServiceMeshName = "HCX-ServiceMesh"
$hcxComputeProfileName = "HCX-OnPrem-ComputeProfile"
$hcxManagementNetworkProfileName = "HCX-OnPrem-Mgmt-NetworkProfile"
$hcxManagementNetworkBackingName = "SJC-CORP-MGMT"
$hcxComputeClusterName = "Cluster-01"
$hcxDatastoreName = "vsanDatastore"
$hcxVDSName = "SJC-CORP-VDS"
Step 2 - Connect to your HCX Enterprise Manager (on-premises) using the Connect-HCXServer cmdlet:
Connect-HCXServer -Server $OnPremHCXManager -User $OnPremHCXUsername -Password $OnPremHCXPassword
Step 3 - Create a new HCX Pairing if you have not already using the following command (If you have, skip to Step 4):
New-HCXSitePairing -Url $HCXCloudURL -Username $HCXCloudUsername -Password $HCXCloudPassword
Step 4 - Create a new HCX Network Profile by running the following commands (update the network information based on your own environment):
$HcxDstSite = (Get-HCXSite -Destination)
$hcxComputeCluster = Get-HCXApplianceCompute -ClusterComputeResource -Name $hcxComputeClusterName
$hcxDatastore = Get-HCXApplianceDatastore -Compute $hcxComputeCluster -Name $HcxDatastoreName
$hcxVDS = Get-HCXInventoryDVS -Compute $hcxComputeCluster -Name $hcxVDSName
$mgmtNetworkBacking = Get-HCXNetworkBacking -Name $hcxManagementNetworkBackingName
New-HCXNetworkProfile -Name $hcxManagementNetworkProfileName -PrimaryDNS "172.17.31.5" -DNSSuffix "cpbu.corp" -GatewayAddress "172.17.31.253" -IPPool 172.17.31.18-172.17.31.20 -Network $mgmtNetworkBacking -PrefixLength 24
$hcxMgmtNetworkProfile = Get-HCXNetworkProfile -Name $hcxManagementNetworkProfileName

Step 5 - Create a new HCX Compute Profile by running the following commands:
New-HCXComputeProfile -Name $hcxComputeProfileName -ManagementNetworkProfile $hcxMgmtNetworkProfile -vMotionNetworkProfile $hcxMgmtNetworkProfile -DistributedSwitch $hcxVDS -Service BulkMigration,Interconnect,Vmotion,WANOptimization,NetworkExtension -Datastore $hcxDatastore -DeploymentResource $hcxComputeCluster -ServiceCluster $hcxComputeCluster
$hcxLocalComputeProfile = Get-HCXComputeProfile -Name $hcxComputeProfileName
$hcxRemoteComputeProfile = Get-HCXComputeProfile -Site $HcxDstSite

Step 6 - Finally, we can create a new HCX Service Mesh by running the following command:
New-HCXServiceMesh -Name $hcxServiceMeshName -SourceComputeProfile $hcxLocalComputeProfile -Destination $HcxDstSite -DestinationComputeProfile $hcxRemoteComputeProfile -Service BulkMigration,Interconnect,Vmotion,WANOptimization,NetworkExtension -SourceUplinkNetworkProfile $hcxMgmtNetworkProfile
Hello
Thanks for you document. Now in my lab not have problem with the deployment but in production environment ever show me error "Time Out" locally when the appliance IX-R1 of Destination and appliance show me Warning Tunnel Status. Now run from HCX (Destination) "curl -v https://ip appliance:9443 and show me "TCP_NODELAY set connection timeout. This error is locally, from hcx enteprise not have problem.
The IP HCX Destination: 10.10.219.180
Appliance IX-R1: 10.10.219.176
clb-hcx01.domain.local#curl -v https://10.10.219.176:9443
TCP_NODELAY set
Failed to connect to 10.10.219.76 port 9443: Connection Time Out
-------------------------------------------------------------------------------------------
You have idea because locally present error of time out if the VM are locally, same ESXi, vCenter. Segment IP.
Thanks
Hi, I am trying to modify servicemesh to increase the L2C appliance count. I am submitting following data as a payload but it is failing,
$mbody = @"
{
"serviceMeshId": $mesh.servicemeshid,
"name": $mesh.name,
"l2cApplianceCount": $lcount
}
"@
$meshurl = $hcxInventoryUrl + "/" + $mesh.servicemeshid
Invoke-RestMethod -Uri $meshurl -Headers $global:hcxConnection.headers -Method Put -Body $mbody -ContentType 'application/json'