While answering a recent question on the VMware Reddit Community, I came to learn about Authentik, an open source identity provider (IdP), which is pretty feature rich and best of all, you can self-host the Authentik IdP solution.
While Authentik is not one of the officially supported Identity Providers for vCenter Server Identity Federation such as Okta, Microsoft Entra ID, Microsoft ADFS or PingFederate, I was curious if it would to allow me to easily play with the Identity Federation feature in vCenter Server? ?
Hint: It works! ?
Disclaimer: Authentik is currently not an officially supported vCenter Server IdP as mentioned earlier, please use at your own risk.
Step 1 - The installation and configuration of Authentik is extremely easy as it uses docker-compose, you can follow the instructions here to grab the YAML manifest and make any tweaks such as applying air-gapped configurations, which I have done in my own environment. After that, just run docker-compose up -d to start up the application:

Note: To avoid any potential issues with DNS and networking while configuring the IdP with vCenter Server, I would strongly recommend deploying a small Ubuntu VM that has been configured with a DNS forward/reverse entry to be used to install the Authentik IdP.
Step 2 - Once the Authentik application has initialized, you should be able to access the admin interface via browser (I changed my HTTP/HTTPS ports to 80/443): http://auth.williamlam.local/if/flow/initial-setup/ and then associate an email address to the default akadmin user along with configuring the password for the user. You will be able to create additional users later.

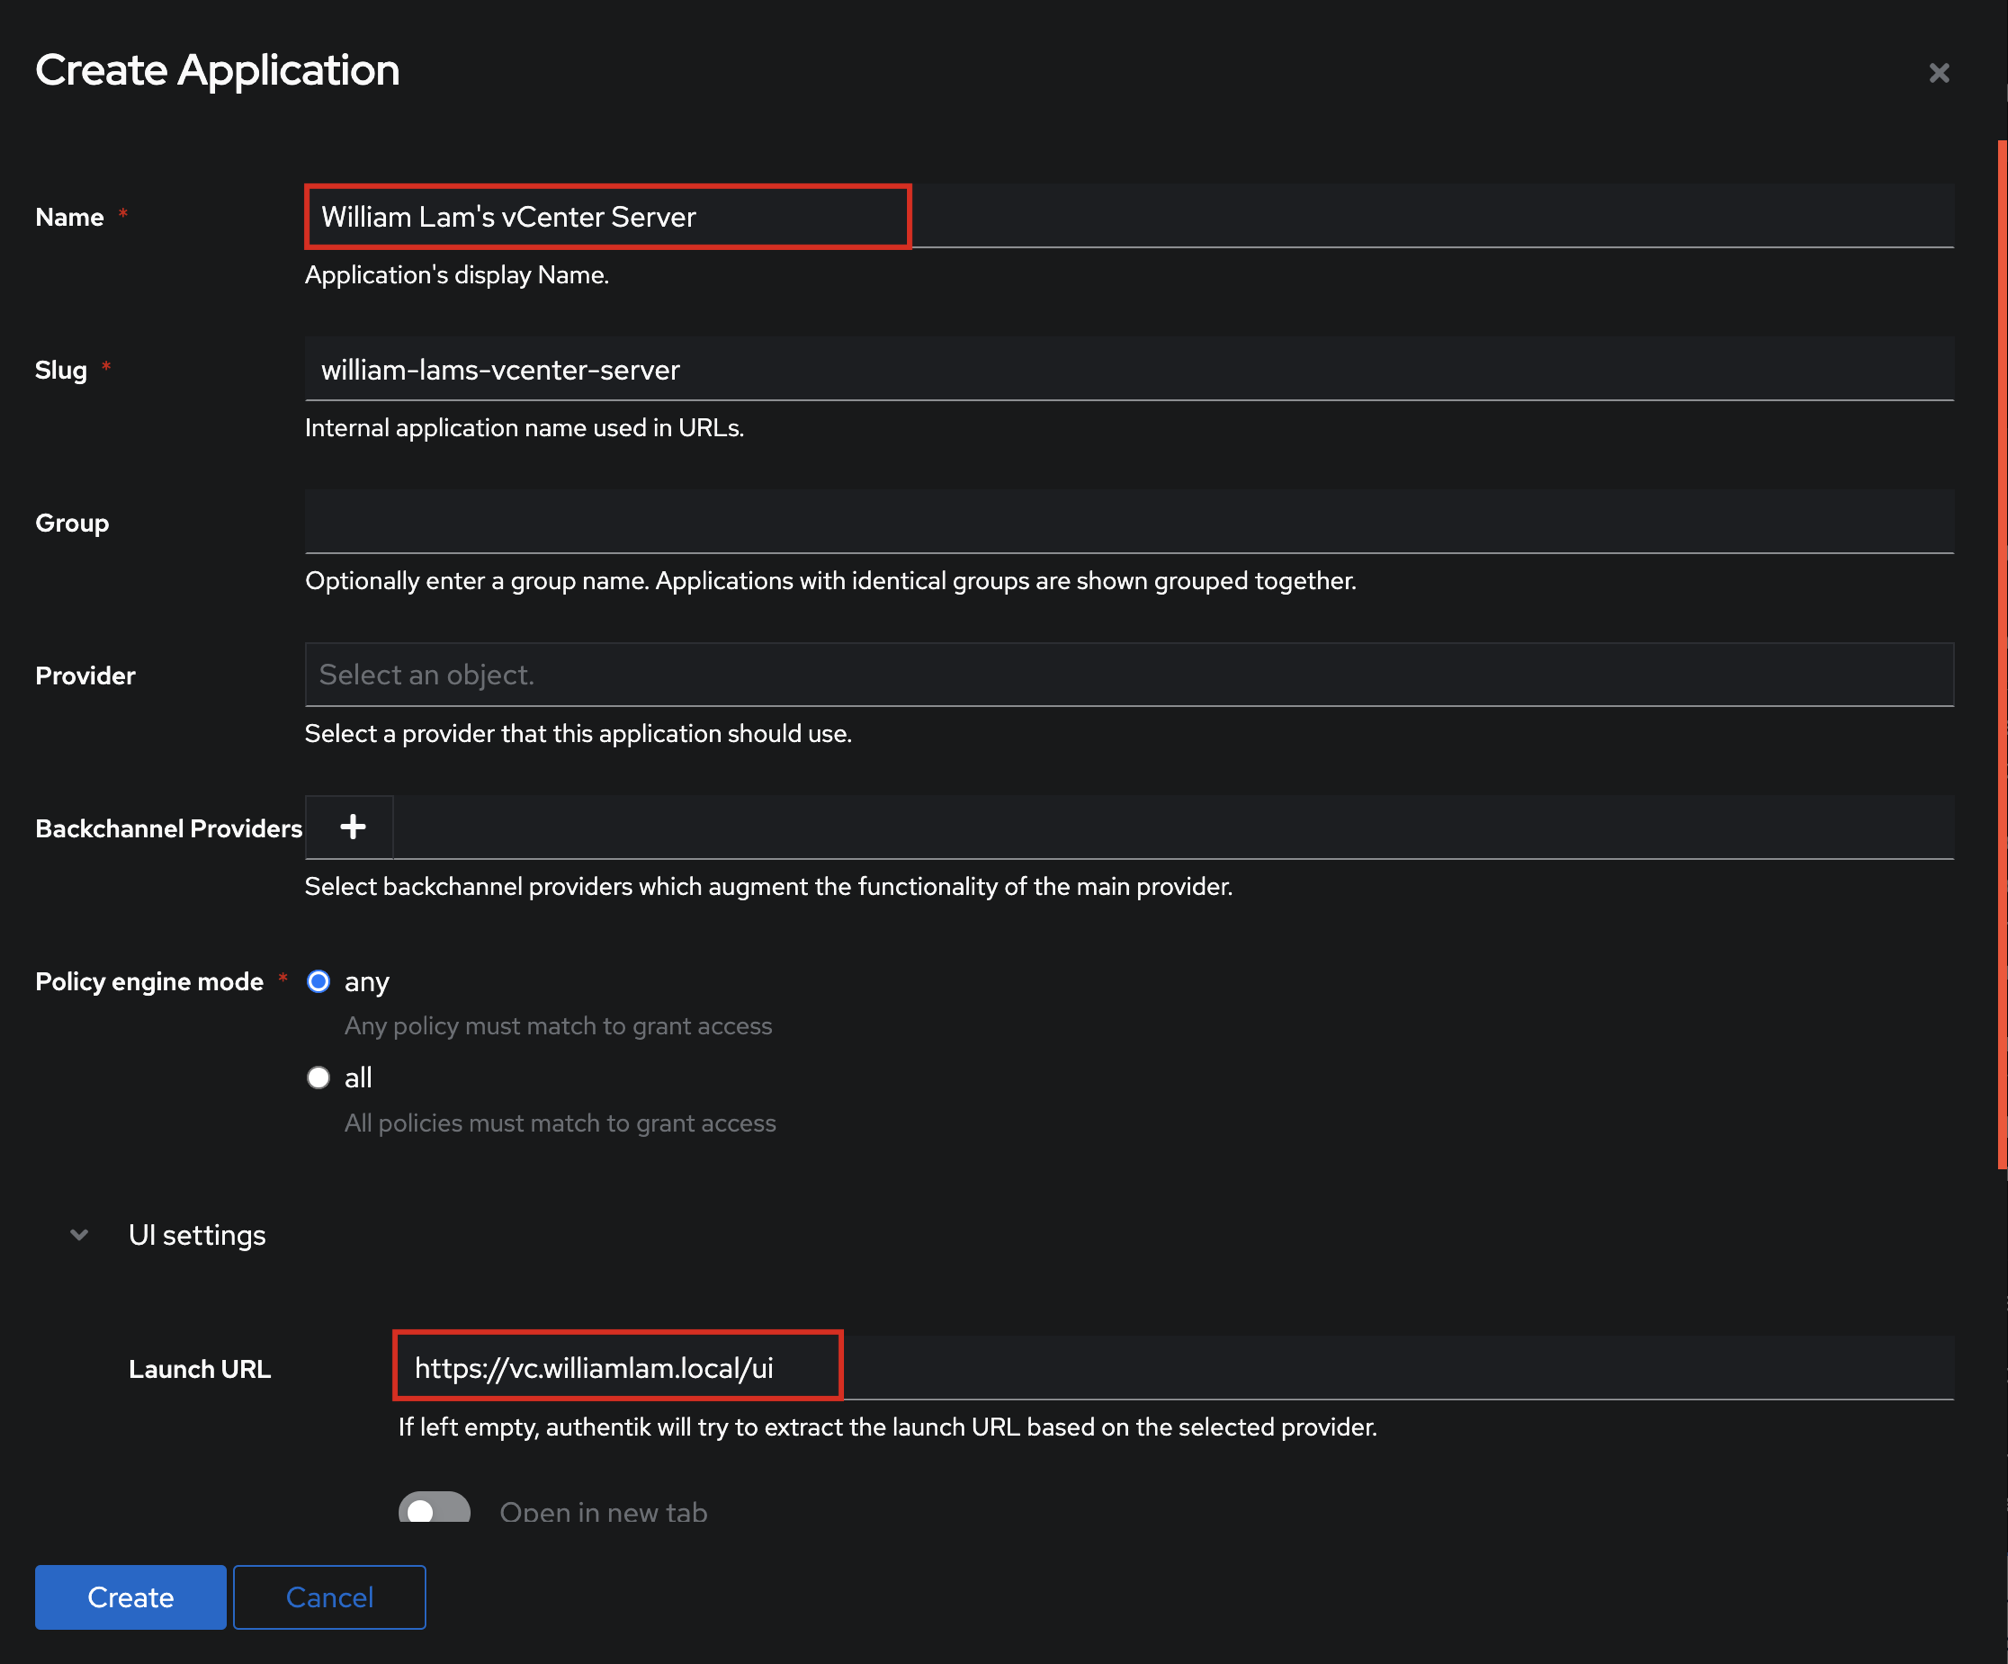
Step 3 - Next, we need to create a new OAuth application for the specific vCenter Server(s) that you wish to associate with the Authentik IdP. Simply fill out the Name and the Launch URL fields at a minimal.

Step 4 - In left hand menu, select Provider and create a new OAuth2/OpenID Provider for the the specific vCenter Server(s) that we will associate with OAuth Application that we had created in Step 3.

Fill out the Name, Authorization Flow and Redirect URI (format will be https://X/federation/t/CUSTOMER/auth/response/oauth2 where X is the FQDN of your vCenter Server) field and then copy the generated Client Id and Client Secret values as you will need that during the vCenter Server configuration, then click Finish.

Step 5 - With our new OAuth2/OpenID Provider now created, we need to associate that with our OAuth application from Step 3. In the left hand menu, select Application and then edit the OAuth application and under Provider, select the OAuth2/OpenID Provider that you had created from Step 4.

Click on Update for the changes to go into effect. One additional piece of information we need to gather from Authentik IdP is the OpenID URL which is only generated after completely the previous step. Edit the OAuth application and you will now see a new overview page and make a note of your OpenID Configuration URL, which is highlighted in the screenshot below.

Step 6 - We are going to quickly setup a new group and user that we will use to test our vCenter Server IdP configuration. In left hand menu, under Directory, select Groups and create a new group that can be used authorize users from the Authentik IdP, you will see why this is needed later.

Click on Users in the left hand menu and create a new user by populating Username, Name, Email and Path. It is important that you do NOT use the same domain name within your email address as Authentik IdP itself, which gave me user sync error. In example below, I am using williamlam.com for my email domain versus williamlam.local which is my internal DNS domain.

Step 7 - Login to your vCenter Server and under Administration->Single Sign-On->Configuration select Change Provider and choose the Okta option to begin the configuration.
Provide a friendly directory name and domain name(s) for your IdP and then click next.

Enter the Identity Provider Name and then copy the Client Identifier, Shared Secret and OpenID Address from Step 4 & 5 and then review and save the configuration.

Next, we need to make a note of the Tenant URL and generate a secret that will be used by the Authentik IdP to publish users and groups from the IdP using the System for Cross-domain Identity Management (SCIM) protocol.

Step 8 - On left hand, navigate to Provider and we now need to create a new SCIM Provider for the the specific vCenter Server(s) that we will associate with Authentik Application that we had created in Step 3.

Provide a Name and then copy the values from Step 7 into the URL and Token fields as shown in the screenshot below.

Scroll down to the User filtering section and under Group, select the new group you had created from Step 6 which will automatically allow all users as part of that Authentik group to login to your vCenter Server. Click Finish to complete the configuration of the SCIM provider.

Step 9 - With our new SCIM provider created, we need to associate that with our OAuth application from Step 3. In the left hand menu, select Application and then edit the OAuth application and under Backchannel Providers, select the SCIM Provider that you had created from Step 8.

At this point, both our OAuth and SCIM Provider should now be associated with our OAuth application within Authenik as shown in the screenshot below.

Step 10 - Before we can login to vCenter Server using the Authentik IdP, we need to ensure all users and groups have been synced. Select and edit your SCIM Provider and under Overview click on the Sync button to begin. You will need to refresh or navigate away from the screen to see the sync status, which I found to be a very odd user experience but you should see that the users and groups were synced successfully and there should not be any warnings or errors.
If you have any warnings, you must address them first as the sync probably would not have been successful which was the problem I eventually found out due to re-using the same domain for my user email address.

You can also confirm which users and/or groups will be allowed to access your vCenter Server by clicking on Provisioned users and Provisioned Groups.

Step 11 - While the Authentik IdP will manage your authentication (AuthN), authorization (AuthZ) is still managed by vCenter Server and you need to assign the desired permissions for the specific Authentik users and/or groups to be able to perform operations.
Login using the vSphere SSO Admin account (administrator[at]vsphere.local) and if all steps above were configured correctly and the user and/or groups have been successfully synced to vCenter Server, you should now be able to add a regular vSphere Permission or vSphere Global Permission by selecting the Authentik domain and then searching up the user or group that you have associated with your OAuth application as shown in screenshot below.

Note: If you do not want any of the default Authentik groups to show up, you can exclude them by removing them from the SCIM Provider configurations.
Step 12 - Finally, the last step is to now login to your vCenter Server using Identity Federation which should automatically redirect the login flow to your Authentik IdP enter the configured username and password

Once authenticated, you should see your configured OAuth application within the Authentik dashboard, go ahead and launch the application if you were not automatically redirected back to vCenter Server.

With the correct vSphere Permissions configured, you should now be able to login to vCenter Server using Authentik IdP! ?

Hi and thank you. I've never heard of Authentik before, but it looks promissing. I'll add that there are more unsupported solutions which somehow works, which one of is KeyCloak.
Btw any chance these would be officially supported in any of the future vcf releases?
In step 11, I had to check "Propagate to children" to get past the "Unable to login because you do not have permission on any vCenter Server systems connected to this client." error, even though I selected a user instead of a group.
参考知识
116/1000
机翻 · 通用领域
Thank you for your article
I followed your article and finally completed the user synchronization. You can also see it in VCenter. I have created permissions and scim is still running. Even after logging in, the prompt still appears
This problem has been bothering me for a long time, how can I solve it
Access denied
Access denied. Unable to authenticate user.
I am trying to do this but i can't find my way, can you clarify where exactly are these settings "If you do not want any of the default Authentik groups to show up, you can exclude them by removing them from the SCIM Provider configurations."
See Step 10 and Provisioned Groups