One of the new features highlighted in the latest vSphere 7.0 Update 3 release is the integrated NSX-T deployment and configuration workflow found directly within the vSphere UI as shown in the screenshot below.
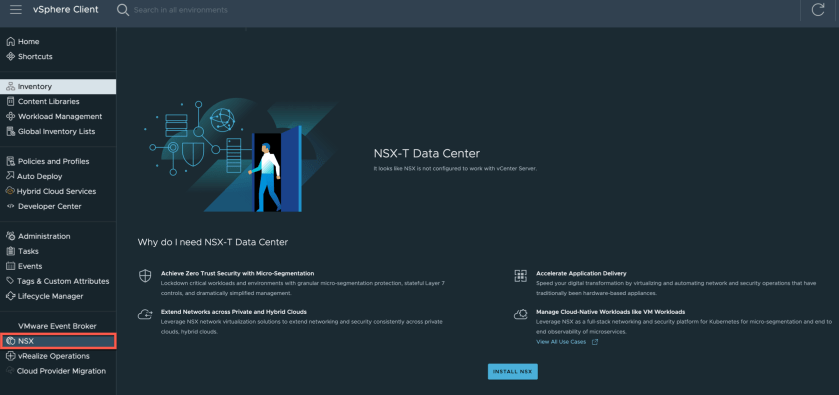
After you click on the the "Install NSX" button, it will prompt for the NSX-T OVA and then take users through a guided wizard to on deploying and configuring NSX-T. I noticed that a few users were reporting a timeout issue after running through the workflow:
Cannot complete the operation: See the event log for details. Timeout: The task did not complete within the expected time span
I have not used this plugin before, so I was not sure what the issue was until I came across this Tweet from Validimir Velikov, a vSphere UI Engineer who had worked on the integrated NSX-T plugin and shared the reason for this error. A newer version of NSX-T will be needed to use this feature as the vSphere UI expects a "callback" from NSX-T Manager when the deployment and configuration is complete, which the current released version of NSX-T (3.1.3.1) does not support.
As discussed, current released versions of NSX-T don't support the vSphere integrated flow. A new NSX-T version should come shortly.
Otherwise, the flow expects a callback from the NSX Manager after deployment which never comes for old versions - hence, the timeout error. 😉— Vladimir Velikov (@vladi_velikov) October 9, 2021
I think we could have provided a better user experience by first checking the NSX-T OVA version and ensuring that it meets the minimum version that supports this capability. Hopefully this is something we can improve upon in the future.