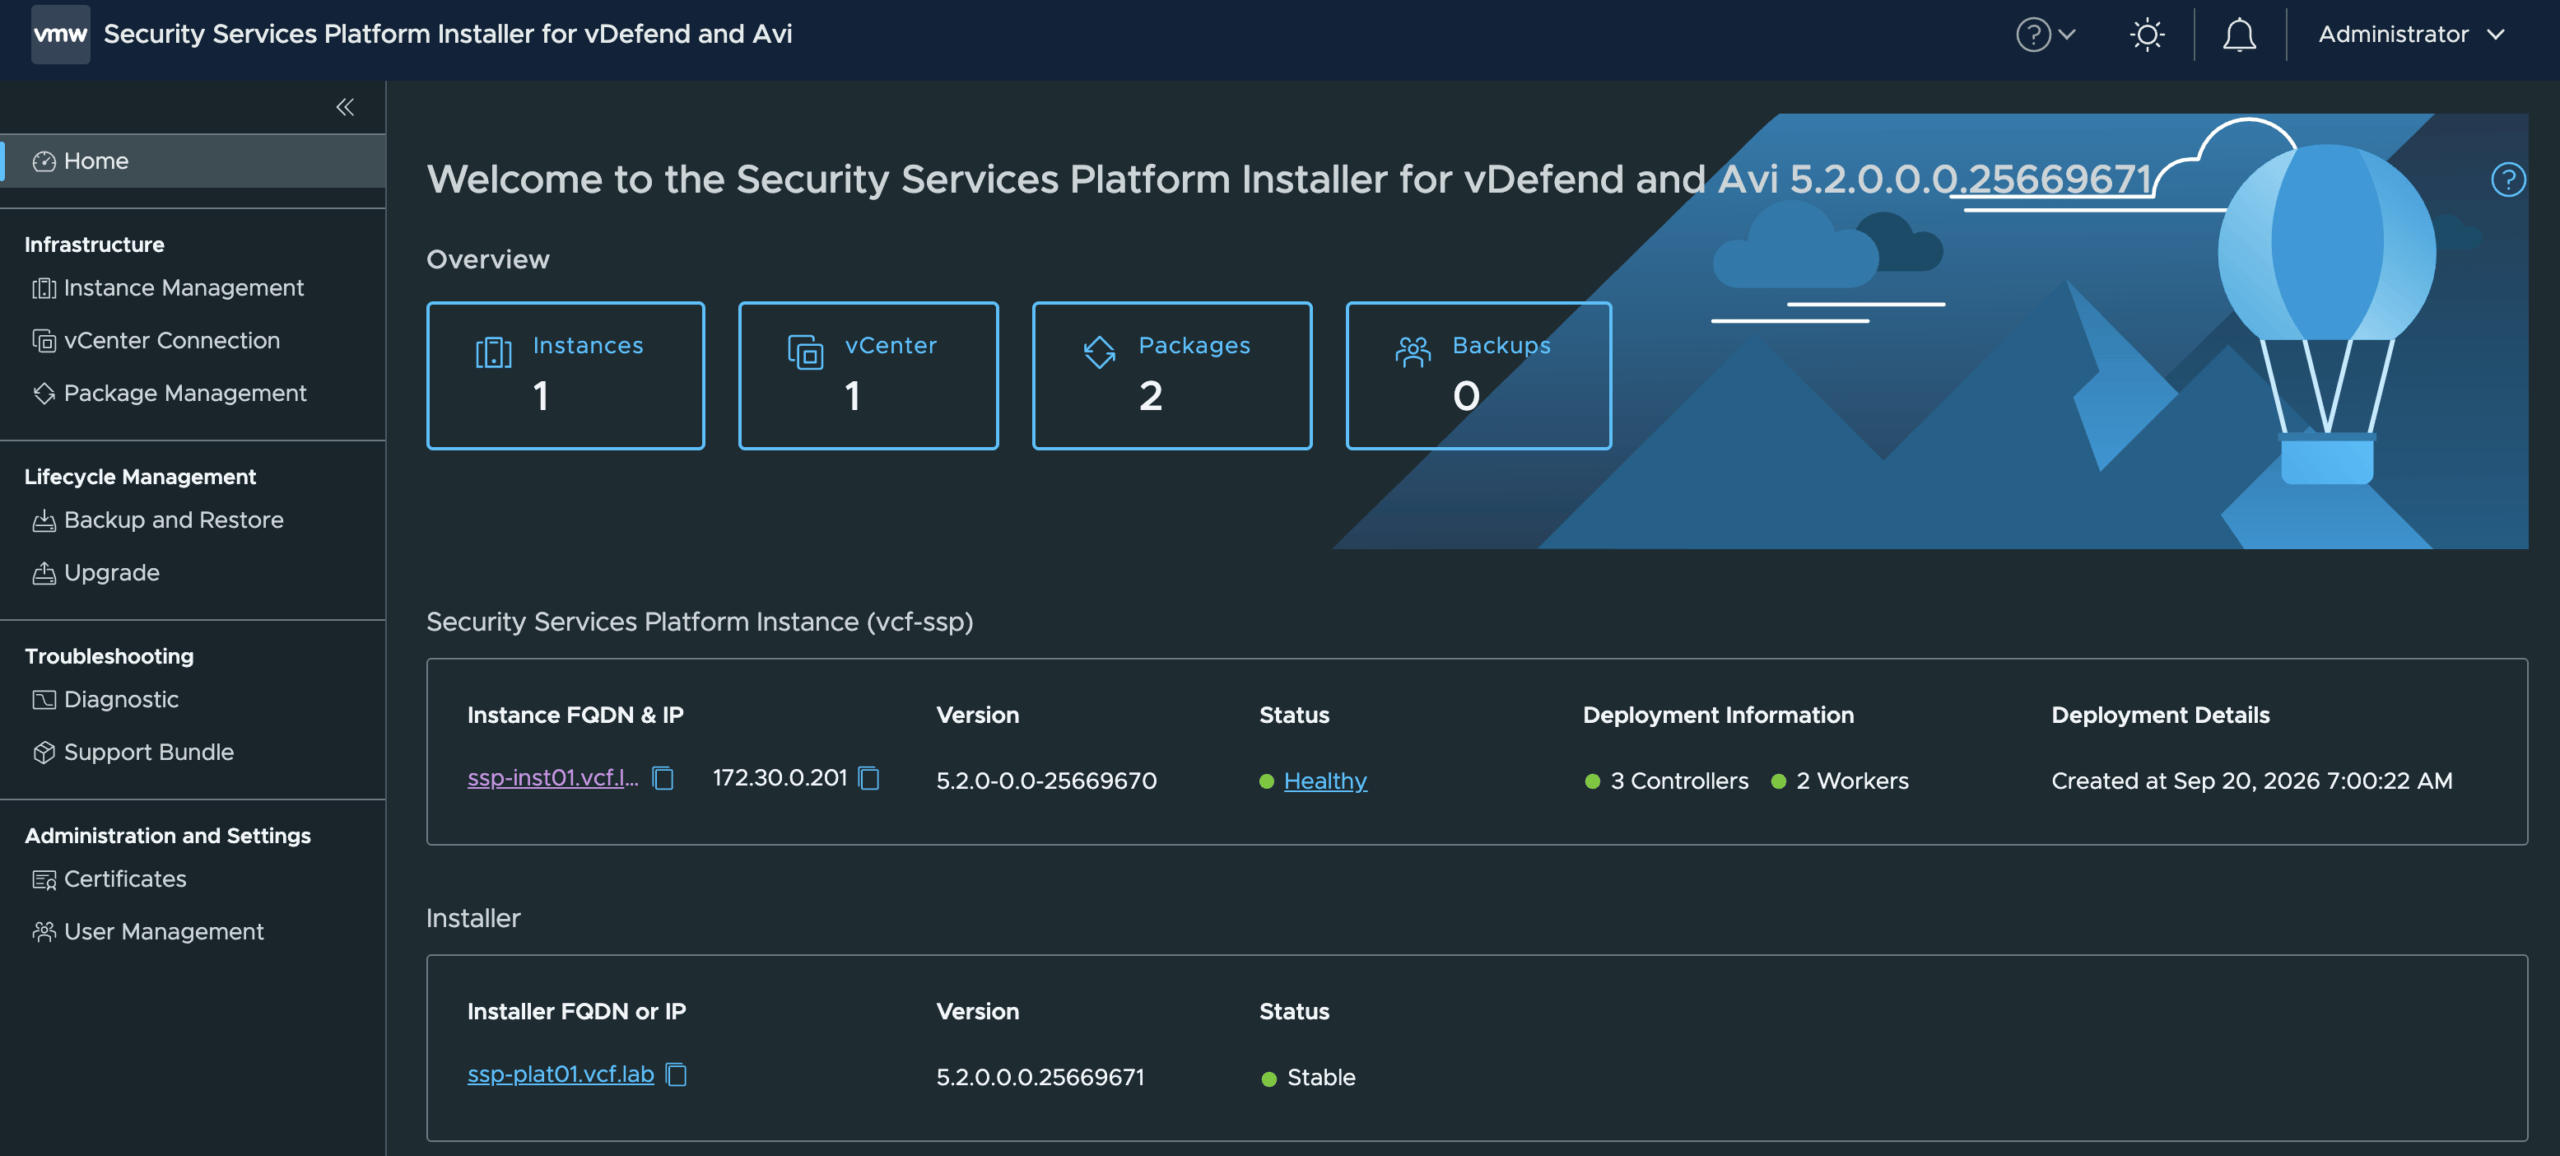
After recently sharing my automation for deploying the vDefend Security Services Platform (SSP) 5.2 Installer, the next logical step was automating the configuration of the SSP Installer and deployment of an SSP Instance. To make this easy and reusable, I have created a new PowerShell Module for vDefend SSP that automates these workflows from end to end.
Requirements:
- PowerShell 7.x or later
- SSP 5.2 Installer up and running
- SSP 5.2 tar package (Security-Services-Platform-for-vDefend-5.2.0.0.0.25669670.tar) on your local desktop
- vCenter Server root CA (e.g. https://vc01.vcf.lab/certs/download.zip) on your local desktop
Step 1 - Install the SSP PowerShell Module by running the following command:
Install-Module Broadcom.Community.VDefendSSP
Step 2 - Use the Connect-SspInstaller function to establish a session with the SSP Installer and create a credential object for the vCenter Server where the SSP Instance will be deployed.
Connect-SspInstaller -SspiHost ssp-plat01.vcf.lab
$vcCred = Get-Credential -UserName 'administrator[at]vsphere[dot]local'
Step 3 - Upload the SSP package to the SSP Installer using the New-SspInstallerPackage function and provide the full path to the package file, as shown in the example below:
New-SspInstallerPackage -BundleType PLATFORM -FilePath /Volumes/Storage/Software/Security-Services-Platform-for-vDefend-5.2.0.0.0.25669670.tar

You can use Get-SspInstallerPackage to list uploaded packages as well as use Remove-SspInstallerPackage to delete a package.
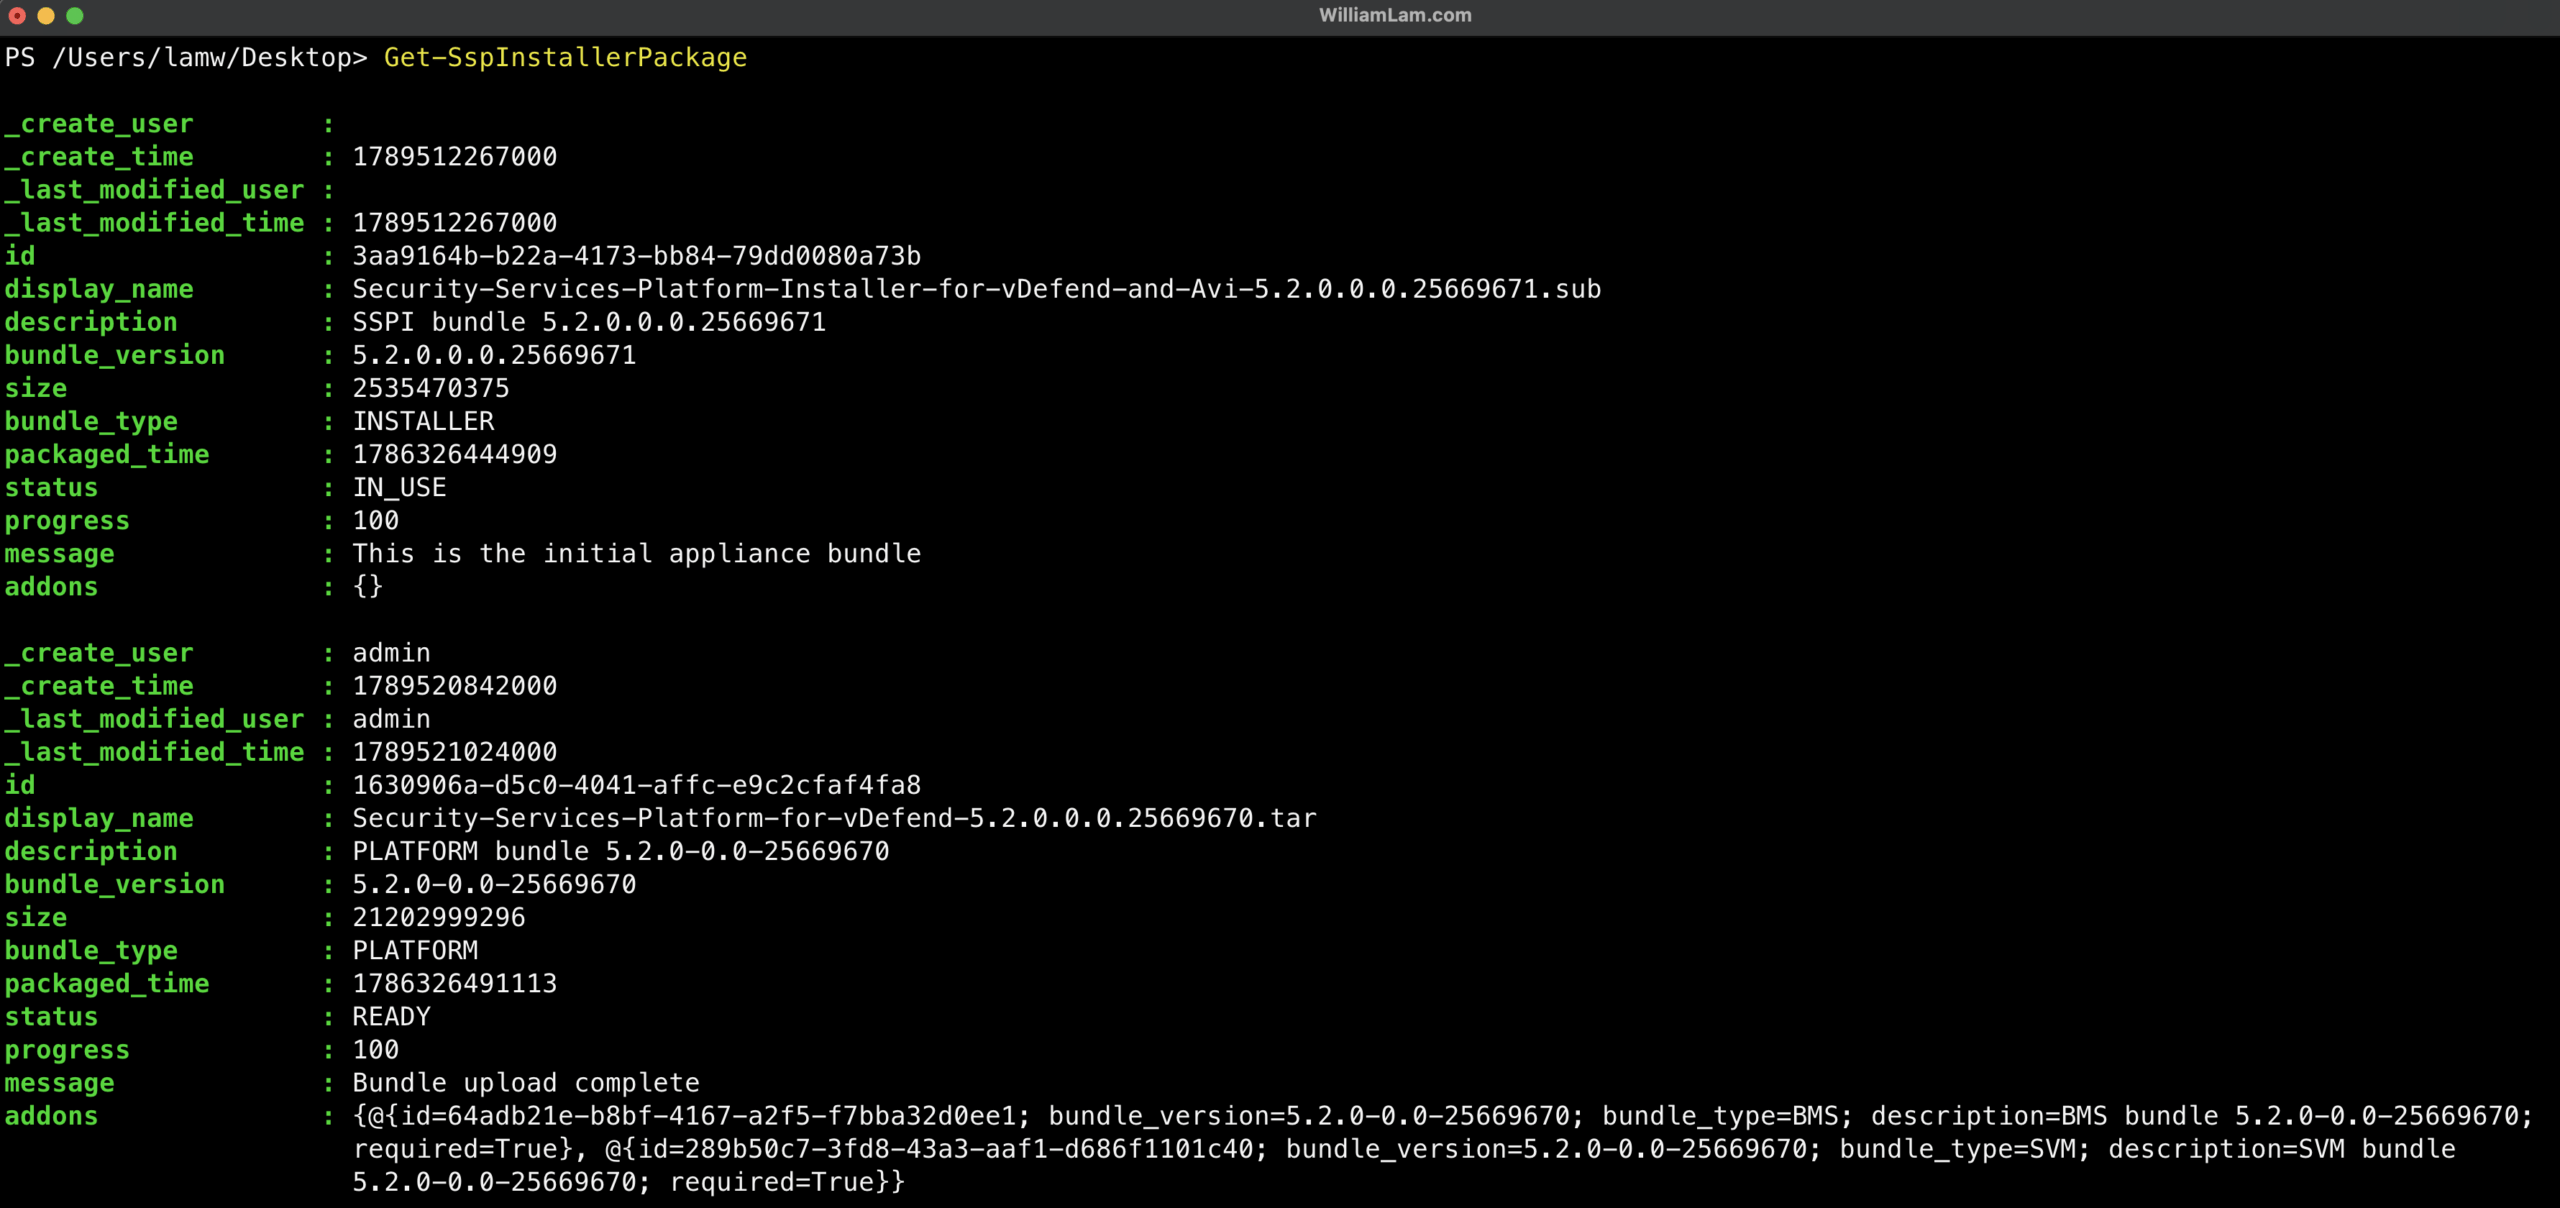
Step 4 - Add your vCenter Server to the SSP Installer using the New-SspInstallerVcenterServer function and provide the FQDN, credential object from Step 2, and the full path to the extracted vCenter Server root CA windows folder containing the .crt file.
New-SspInstallerVcenterServer -VCenterServer vc01.vcf.lab -VCenterCredential $vcCred -CertificateFile /Volume/Storage/Software/vcenter/certs/win/8d867daa.0.crt
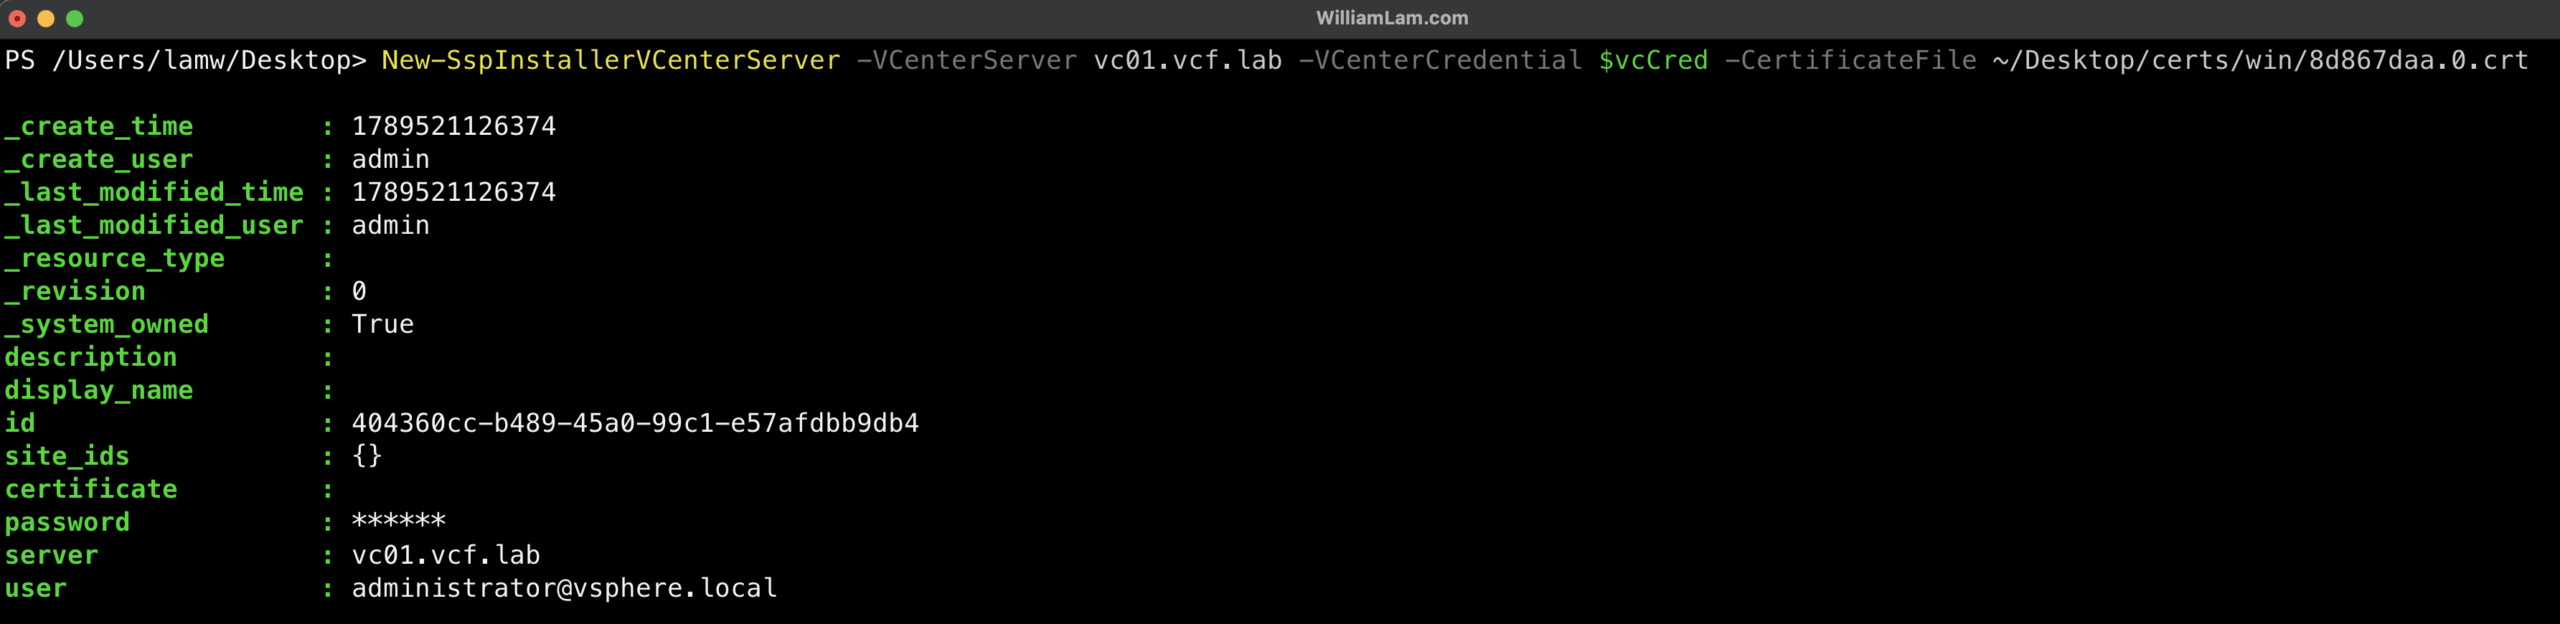
You can use Get-SspInstallerVcenterServer to list the vCenter Servers that have been registered with the SSP Installer and Remove-SspInstallerVcenterServer to remove a registered vCenter Server.
Step 5 - Fill out the following variables for your environment, which will then be passed to the New-SspInstallerDeployment function to perform both the deployment pre-check and SSP Instance deployment.
$sspvCenterID = "404360cc-b489-45a0-99c1-e57afdbb9db4" # Get-SspInstallerVcenterServer
$sspBundleId = "1630906a-d5c0-4041-affc-e9c2cfaf4fa8" # Get-SspInstallerPackage

$sspDeploymentOperation = "PRECHECK_ONLY" #PRECHECK_ONLY or START
$sspDeploymentType = "ATP"
$sspDeploymentSize = "MEDIUM"
$sspDeploymentWorkerNodeCount = 2
$sspDeploymentResourceReservation = $false
$sspDeploymentName = "vcf-ssp"
$sspDeploymentInstanceFqdn = "ssp-inst01.vcf.lab"
$sspDeploymentMessagingFqdn = "ssp-msg01.vcf.lab"
$sspDeploymentAdminPassword = "VMware1!VMware1!"
$sspDeploymentAuditPassword = "VMware1!VMware1!"
$sspDeploymentvCenterServer = "vc01.vcf.lab"
$sspDeploymentDatacenter = "VCF-Datacenter"
$sspDeploymentCluster = "VCF-Mgmt-Cluster"
$sspDeploymentDatastore = "nfs"
$sspDeploymentStoragePolicy = "nfs-workload-storage-policy"
$sspDeploymentPortgroup = "DVPG_FOR_VM_MANAGEMENT"
$sspDeploymentNetworkCidr = "172.30.0.0/24"
$sspDeploymentGateway = "172.30.0.1"
$sspDeploymentNodePool = "172.30.0.220-172.30.0.227"
$sspDeploymentServicePool = "172.30.0.201-172.30.0.205"
$sspDeploymentDnsDomain = "vcf.lab"
$sspDeploymentDnsServer = "192.168.30.29"
$sspDeploymentNtpServer = "96.19.94.82"
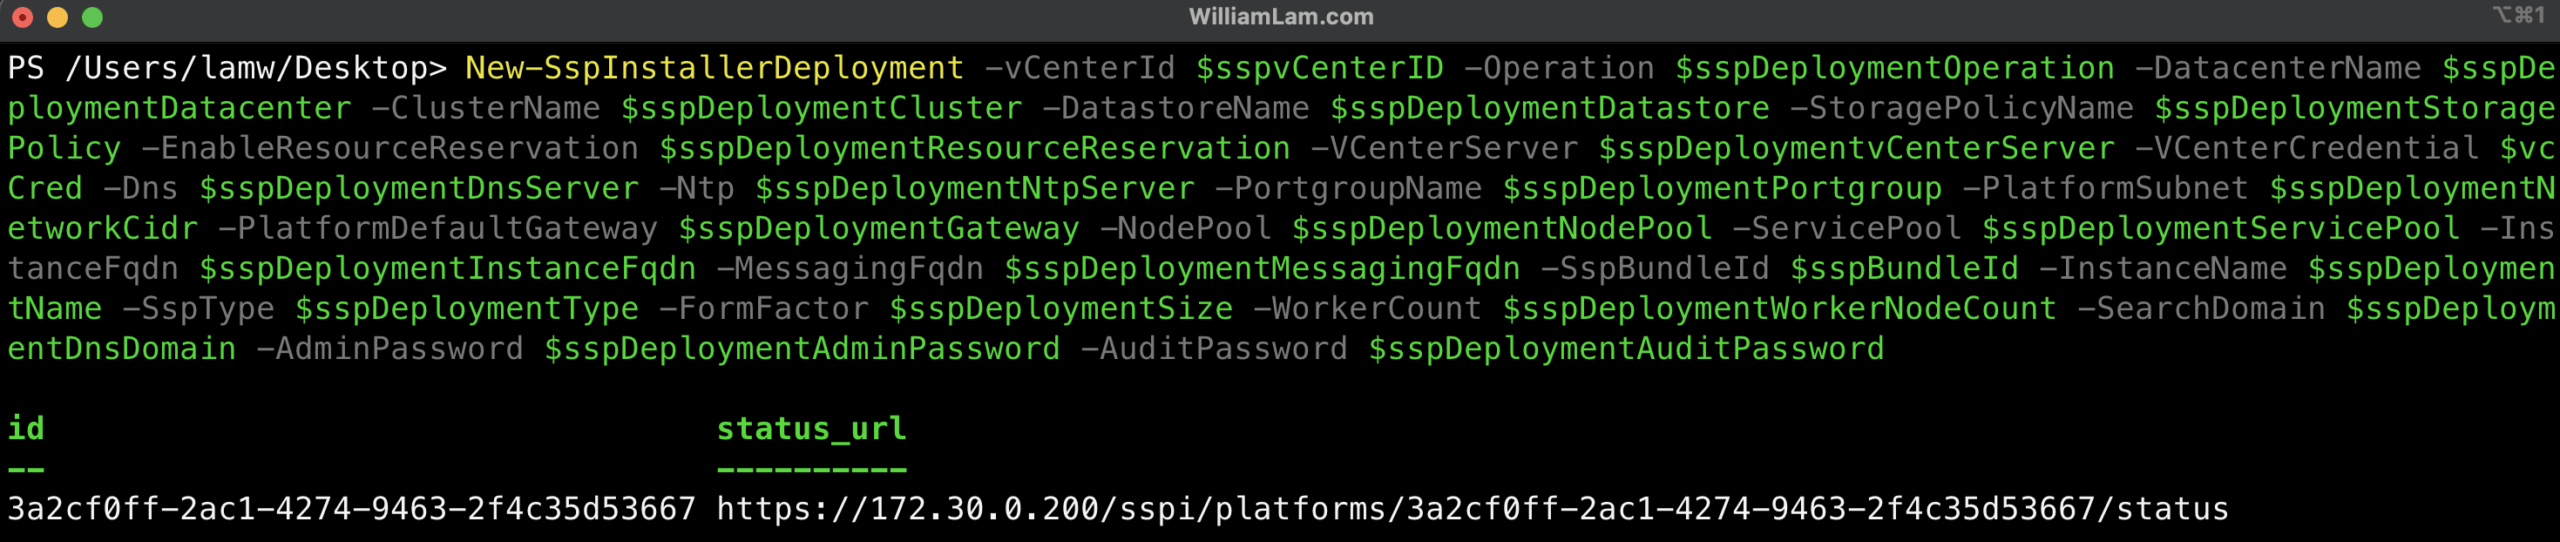
Step 6 - Run the New-SspInstallerDeployment function using the variables defined in the previous step. If the request is successfully submitted to the SSP Installer, a task ID will be returned.
New-SspInstallerDeployment -vCenterId $sspvCenterID -Operation $sspDeploymentOperation -DatacenterName $sspDeploymentDatacenter -ClusterName $sspDeploymentCluster -DatastoreName $sspDeploymentDatastore -StoragePolicyName $sspDeploymentStoragePolicy -EnableResourceReservation $sspDeploymentResourceReservation -VCenterServer $sspDeploymentvCenterServer -VCenterCredential $vcCred -Dns $sspDeploymentDnsServer -Ntp $sspDeploymentNtpServer -PortgroupName $sspDeploymentPortgroup -PlatformSubnet $sspDeploymentNetworkCidr -PlatformDefaultGateway $sspDeploymentGateway -NodePool $sspDeploymentNodePool -ServicePool $sspDeploymentServicePool -InstanceFqdn $sspDeploymentInstanceFqdn -MessagingFqdn $sspDeploymentMessagingFqdn -SspBundleId $sspBundleId -InstanceName $sspDeploymentName -SspType $sspDeploymentType -FormFactor $sspDeploymentSize -WorkerCount $sspDeploymentWorkerNodeCount -SearchDomain $sspDeploymentDnsDomain -AdminPassword $sspDeploymentAdminPassword -AuditPassword $sspDeploymentAuditPassword
You can navigate to the SSP Installer UI to monitor the progress of the pre-check. Once the pre-check has successfully completed, you can start the SSP Instance deployment by clicking the Deploy button.
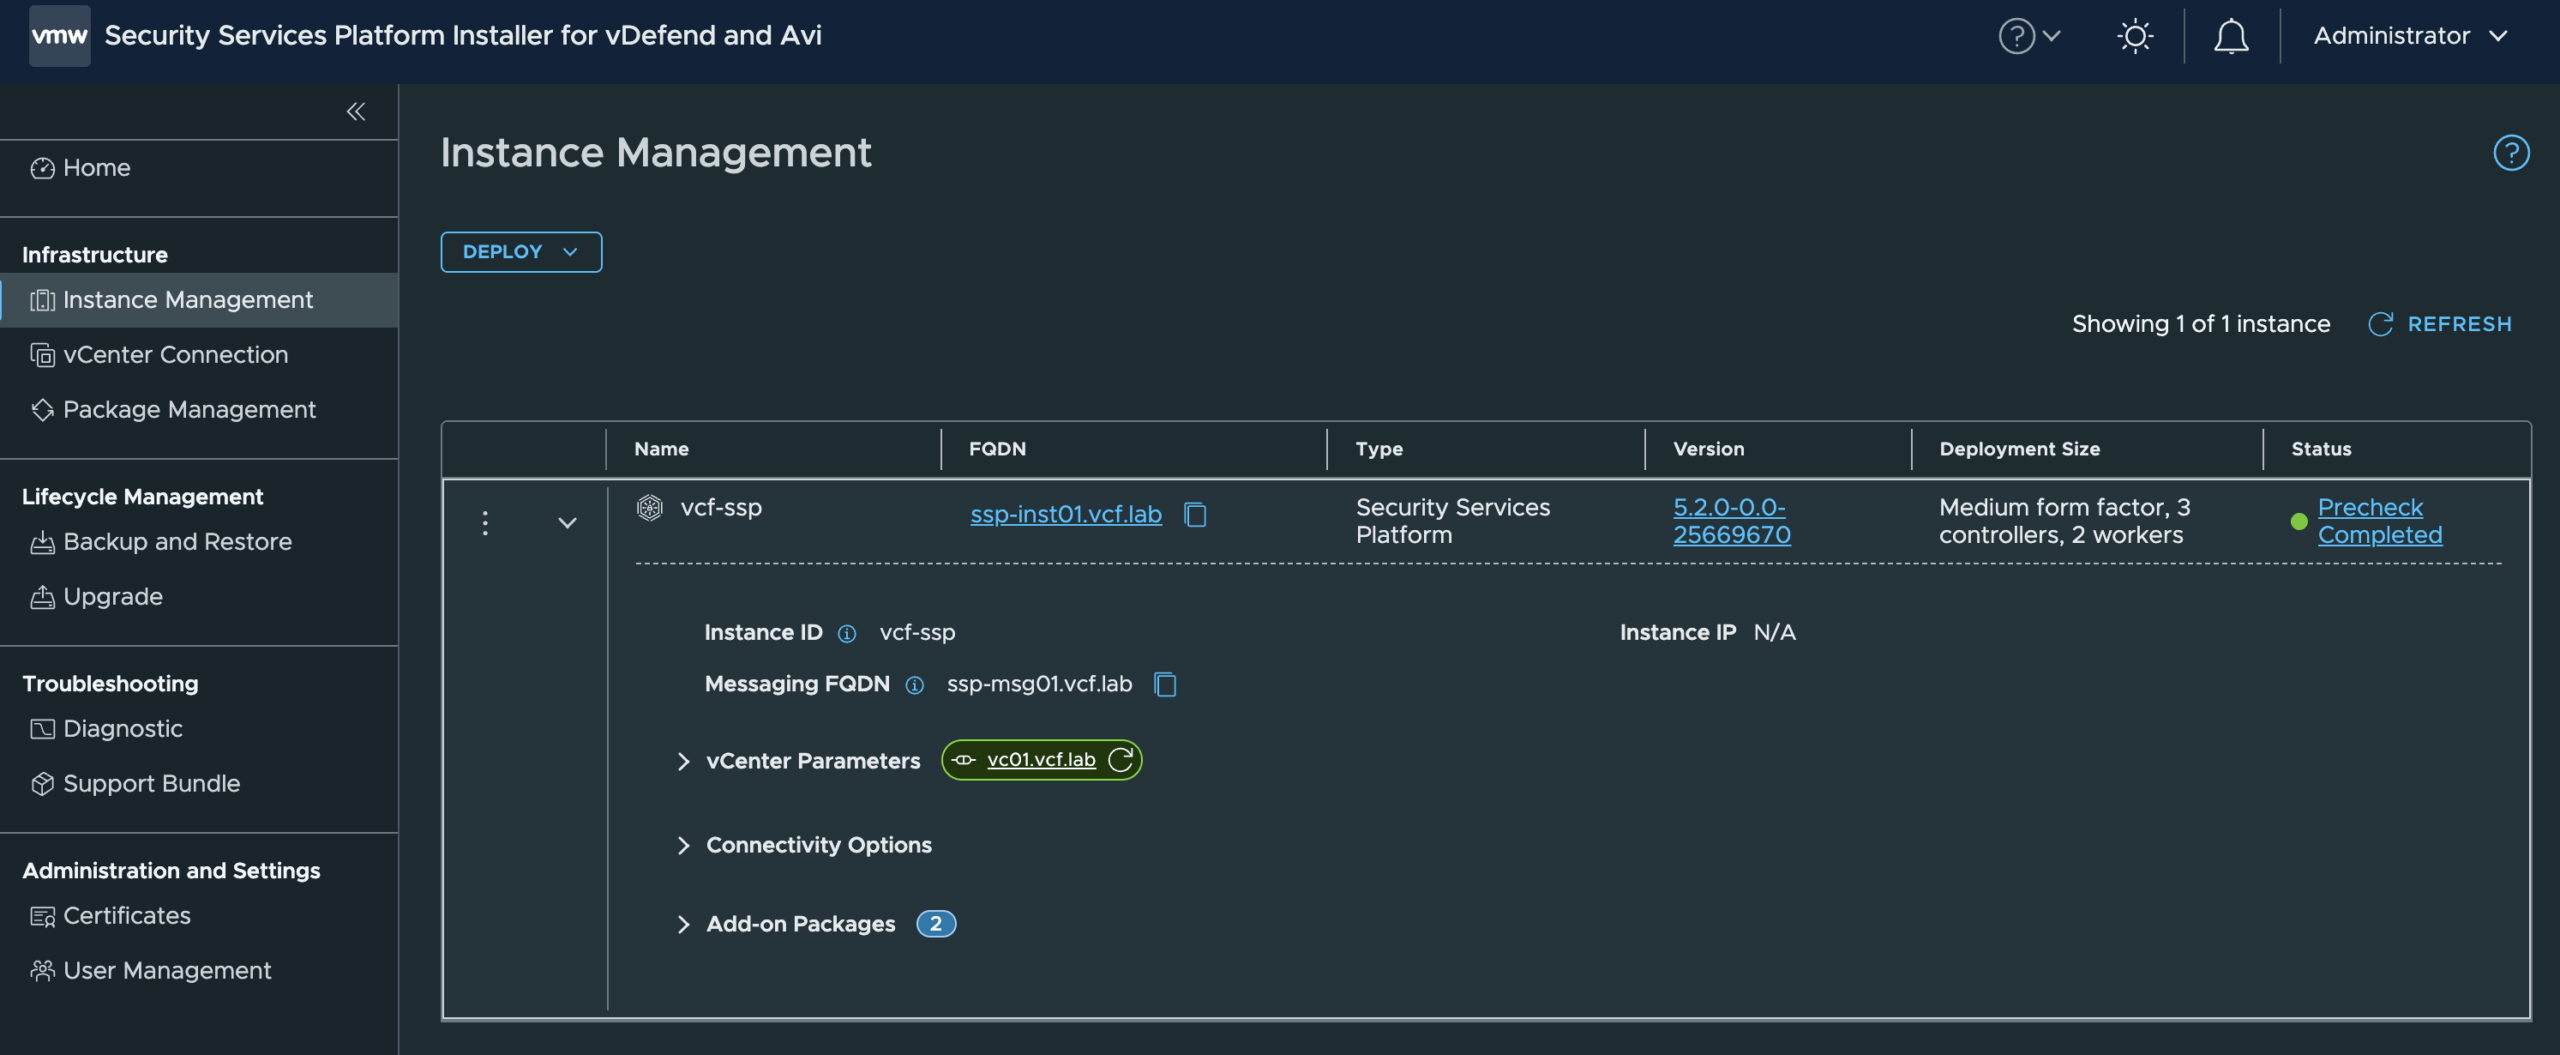
If you know the pre-check will complete successfully, you can change the -Operation value from PRECHECK_ONLY to START, which will automatically perform both the pre-check and SSP Instance deployment without any user intervention, enabling a fully automated end-to-end deployment.
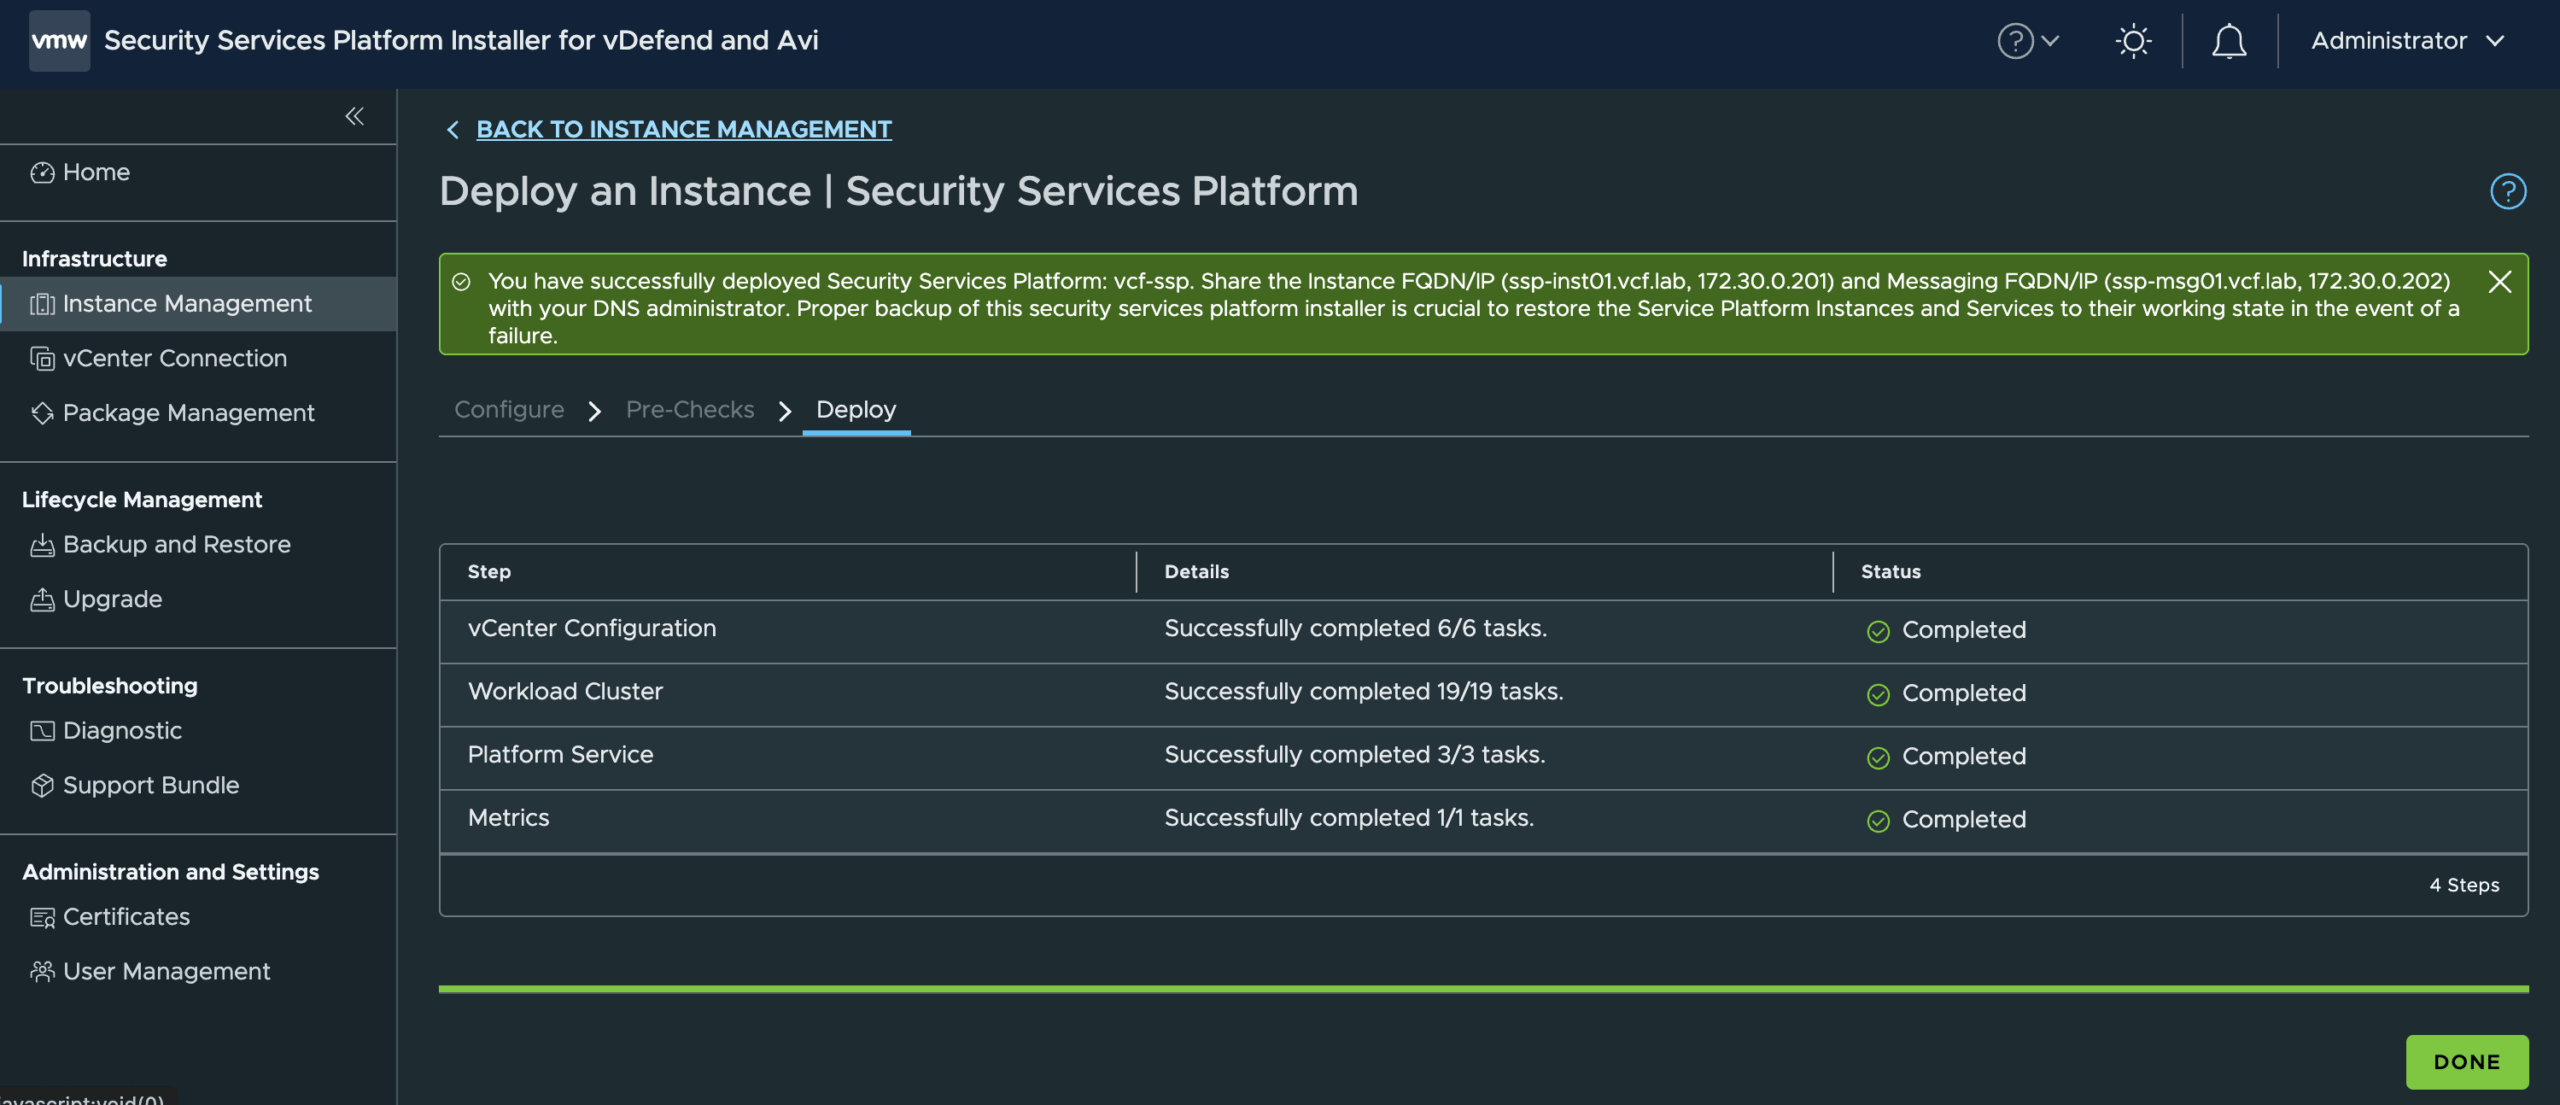
Once the deployment has completed, you can now access your new SSP Instance by opening a browser to the FQDN that you had configured.
Step 7 - Finally, we can automate the onboarding of your NSX Manager using the Connect-SspInstance and New-SspInstanceNsx functions. You will be prompted for the SSP Instance credentials and will need to create an NSX credential object and provide the TLS certificate for your NSX Manager. You can obtain the certificate by accessing the NSX Manager using any browser, viewing the certificate details, and exporting it as a PEM file.
Connect-SspInstance -SspInstanceHost ssp-inst01.vcf.lab
$nsxCred = Get-Credential -UserName 'admin'
New-SspInstanceNsx -NsxManager nsx01.vcf.lab -NsxCredential $nsxCred -CertificateFile /Volume/Storage/Software/nsx01.vcf.lab.pem

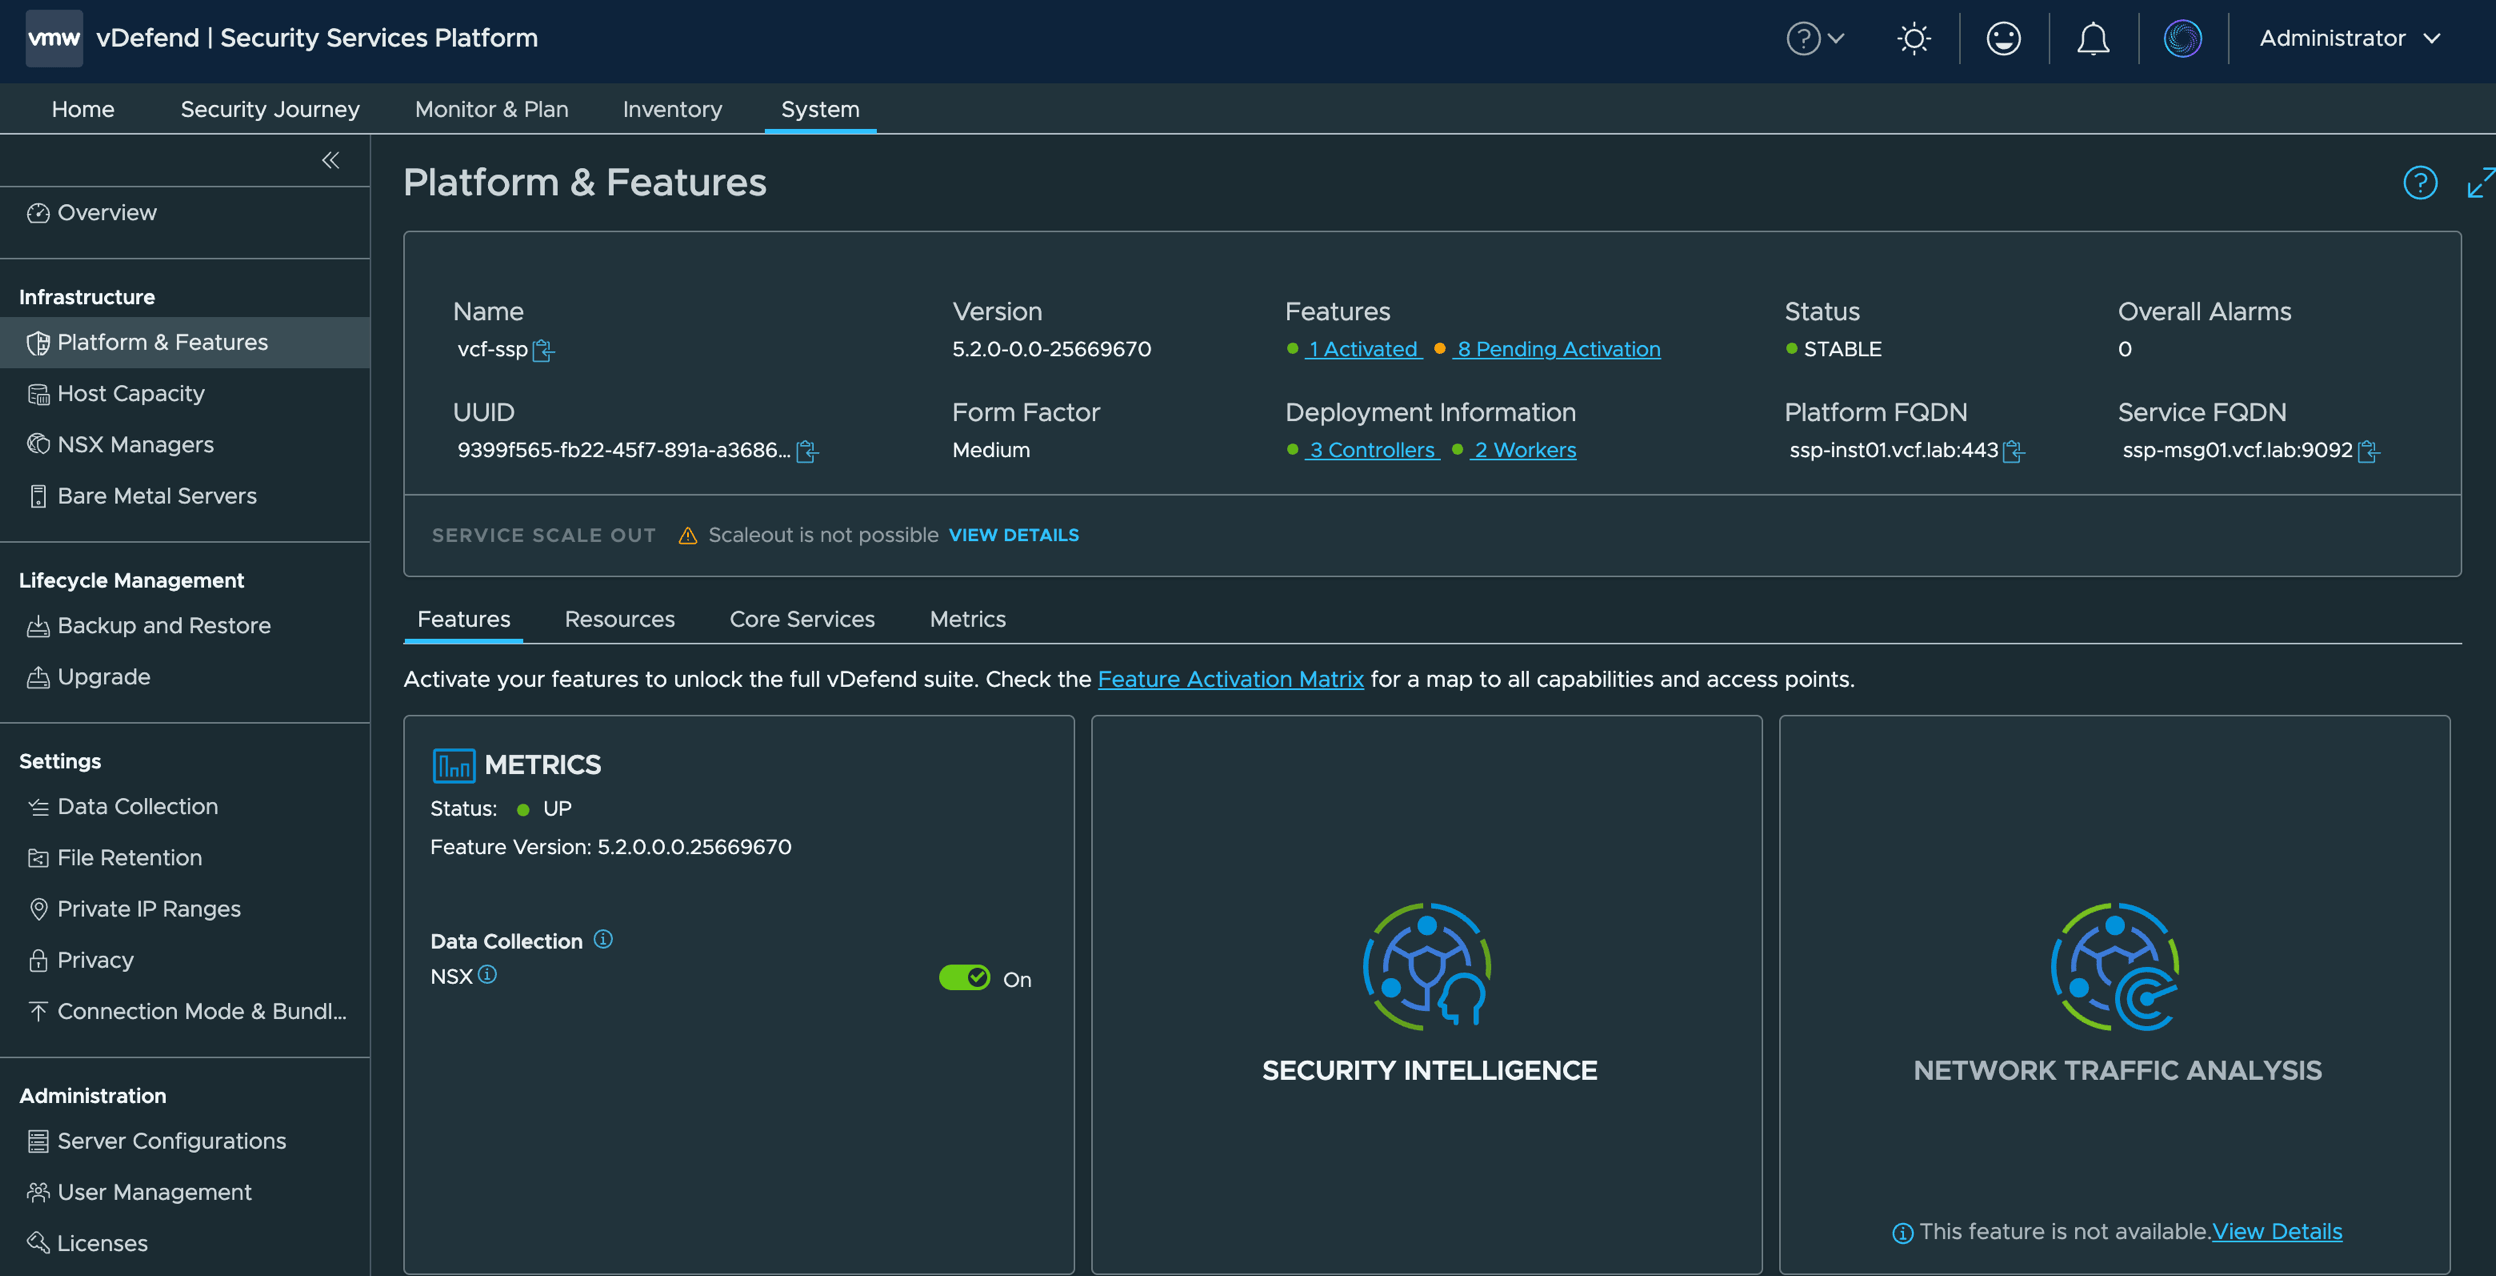
You can login to SSP Instance to monitor the onboarding progress which should just take a minute or so and then you can start exploring what SSP has to offer!
Thanks for the comment!